Search Guard为您提供对整个ElasticSearch环境的完全安全控制!
目前提供的有三个版本分别是免费版、企业版、定制版
Search Guard 配置(包括用户、权限与角色)是存储在Elasticsearch集群的索引中的。这允许配置热加载,更新配置后不需要重启Elasticsearch节点,并且不需要在每个节点上放置配置文件。
使用
sgadmin工具将配置文件中的配置信息加载到searchguard配置索引中。sgadmin需要通过管理员证书来执行命令。管理员证书授予对集群的完全访问权限,包括更改Search Guard配置索引
elasticsearch
关于ELK 安装部署自行参考官网 本文使用的EFLK 版本为
6.4.2!!!
安装search guard 插件
此处选择下载zip包后直接本地安装:
[root@k2 elasticsearch-6.4.2]# pwd
/usr/local/elasticsearch-6.4.2
[root@k2 elasticsearch-6.4.2]# ls search-guard-6-6.4.2-24.2.zip
search-guard-6-6.4.2-24.2.zip
[root@k2 elasticsearch-6.4.2]# ./bin/elasticsearch-plugin install file:////usr/local/elasticsearch-6.4.2/search-guard-6-6.4.2-24.2.zip
在线生成秘钥
由于ElasticSearch节点之间通讯默值非加密,造成数据不安全,Search Guard强制ElasticSearch节点之间通讯为加密方式; Email用来接收密钥,Organization Name可以随便填写,Hostname填写ElasticSearch集群中每个节点的node name;
将邮箱中收到的密钥文件解压,然后得到search-guard-certificates文件夹
[root@k2 search-guard-certificates]# tree
.
├── chain-ca.pem
├── client-certificates
│   ├── CN=demouser.all.pem
│   ├── CN=demouser.crtfull.pem
│   ├── CN=demouser.crt.pem
│   ├── CN=demouser.csr
│   ├── CN=demouser.key.pem
│   ├── CN=demouser.key.pkcs12
│   ├── CN=demouser-keystore.jks
│   ├── CN=demouser-keystore.p12
│   ├── CN=demouser-signed.pem
│   ├── CN=sgadmin.all.pem
│   ├── CN=sgadmin.crtfull.pem
│   ├── CN=sgadmin.crt.pem
│   ├── CN=sgadmin.csr
│   ├── CN=sgadmin.key.pem
│   ├── CN=sgadmin.key.pkcs12
│   ├── CN=sgadmin-keystore.jks
│   ├── CN=sgadmin-keystore.p12
│   └── CN=sgadmin-signed.pem
├── node-certificates
│   ├── CN=es2.crtfull.pem
│   ├── CN=es2.csr
│   ├── CN=es2.key.pem
│   ├── CN=es2.key.pkcs12
│   ├── CN=es2-keystore.jks
│   ├── CN=es2-keystore.p12
│   └── CN=es2-signed.pem
├── README.txt
├── root-ca
│   ├── root-ca.crt
│   ├── root-ca.key
│   └── root-ca.pem
├── root-ca.pem
├── signing-ca
│   ├── signing-ca.crt
│   ├── signing-ca.key
│   └── signing-ca.pem
├── truststore.jks
└── truststore.p12

4 directories, 36 files
配置ES证书
- 详情查看
README.txt文档 - 通读一遍在进行操作!!!
此次使用 Using the keystore- and truststore file 证书配置
编辑 elasticsearch.yml 在最后部分添加下面配置:
cluster.name: elk-cluster
path.data: /data/elk/elasticsearch
path.logs: /data/elk/logs
node.name: es2
node.master: true
node.data: true
http.enabled: true
network.host: es2
### 集群自动发现设置
discovery.zen.ping.unicast.hosts: ["192.168.160.129"]
### 关闭x-pack认证
xpack.security.enabled: false
### sql 插件支持
http.cors.enabled: true
http.cors.allow-origin: "*"
http.cors.allow-credentials: true
###
searchguard.ssl.transport.keystore_filepath: CN=es2-keystore.jks
searchguard.ssl.transport.keystore_password: d9c13b2c8f5550a62d88
searchguard.ssl.transport.truststore_filepath: truststore.jks
searchguard.ssl.transport.truststore_password: 7ef7af8e734522cdba14
searchguard.ssl.transport.enforce_hostname_verification: false
searchguard.ssl.http.enabled: true
searchguard.ssl.http.keystore_filepath: CN=es2-keystore.jks
searchguard.ssl.http.keystore_password: d9c13b2c8f5550a62d88
searchguard.ssl.http.truststore_filepath: truststore.jks
searchguard.ssl.http.truststore_password: 7ef7af8e734522cdba14
searchguard.authcz.admin_dn:
- CN=sgadmin
searchguard.audit.type: internal_elasticsearch
searchguard.enable_snapshot_restore_privilege: true
searchguard.check_snapshot_restore_write_privileges: true
searchguard.restapi.roles_enabled: ["sg_all_access"]
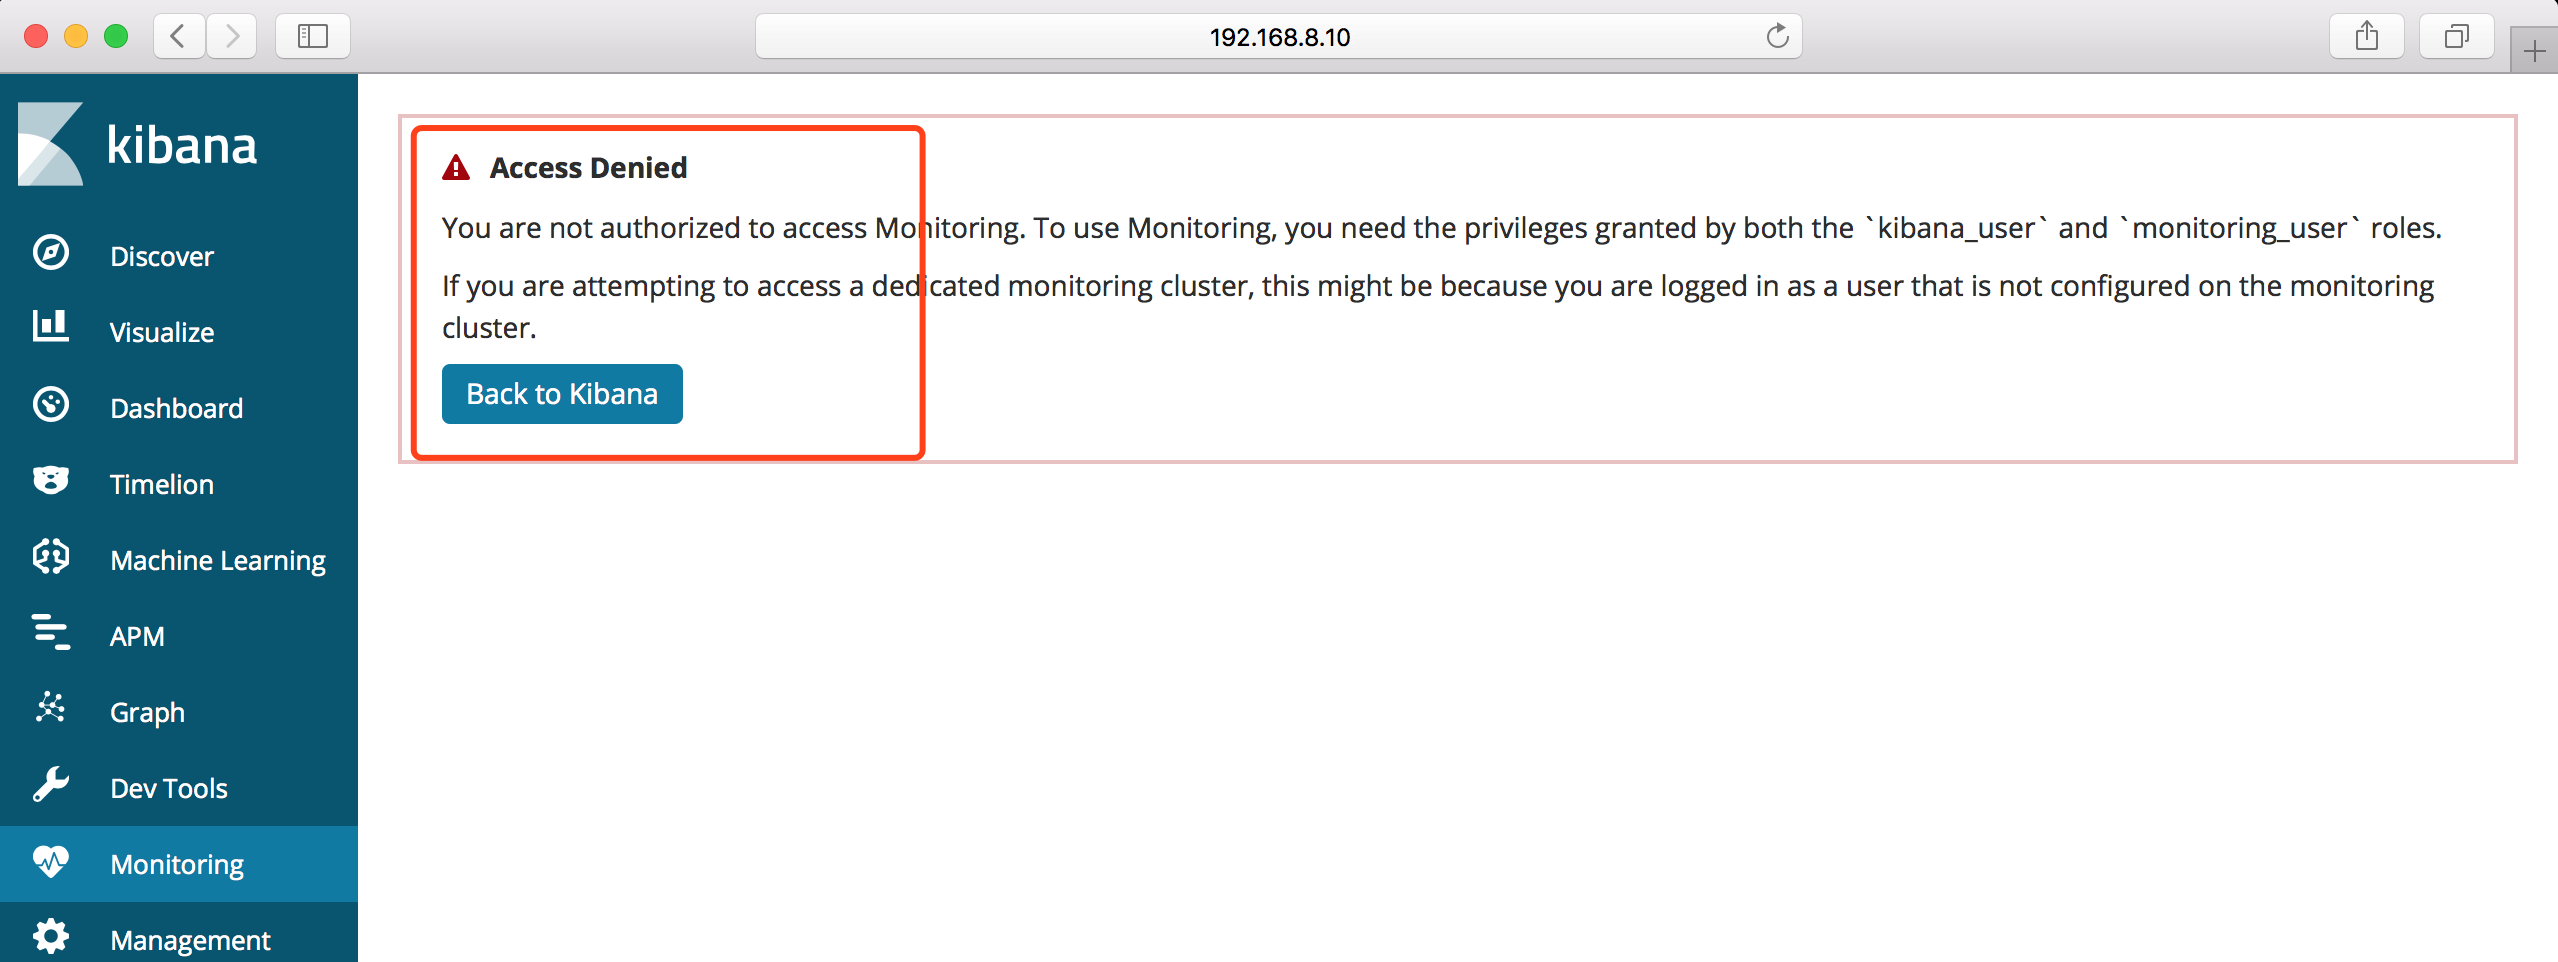
xpack.monitoring.enabled: true
- ps:
- 根据文档里面的提示 cp 复制证书秘钥文件到es config 下即可;
- 证书及秘钥密码查看
README.txt结尾部分都有给出; - 请注意文件权限必须为 644 或者 600
- 最后启动elasticsearch 即可
初始化配置
[es@k2 tools]$ pwd
/usr/local/elasticsearch-6.4.2/plugins/search-guard-6/tools
[es@k2 tools]$ chmod +x sgadmin.sh
-------

[es@k2 tools]$ ./sgadmin.sh -h 192.168.160.129 -p 9300 -ts truststore.jks -tspass 7ef7af8e734522cdba14 -ks CN=sgadmin-keystore.jks -kspass d1e21acbcb8fdd1362a8 -nhnv -icl -cd ../sgconfig/
Search Guard Admin v6
Will connect to 192.168.160.129:9300 ... done
Elasticsearch Version: 6.4.2
Search Guard Version: 6.4.2-24.2
Connected as CN=sgadmin
Contacting elasticsearch cluster 'elasticsearch' and wait for YELLOW clusterstate ...
Clustername: my-application
Clusterstate: GREEN
Number of nodes: 1
Number of data nodes: 1
searchguard index does not exists, attempt to create it ... done (0-all replicas)
Populate config from /usr/local/elasticsearch-6.4.2/plugins/search-guard-6/sgconfig
Will update 'sg/config' with ../sgconfig/sg_config.yml
   SUCC: Configuration for 'config' created or updated
Will update 'sg/roles' with ../sgconfig/sg_roles.yml
   SUCC: Configuration for 'roles' created or updated
Will update 'sg/rolesmapping' with ../sgconfig/sg_roles_mapping.yml
   SUCC: Configuration for 'rolesmapping' created or updated
Will update 'sg/internalusers' with ../sgconfig/sg_internal_users.yml
   SUCC: Configuration for 'internalusers' created or updated
Will update 'sg/actiongroups' with ../sgconfig/sg_action_groups.yml
   SUCC: Configuration for 'actiongroups' created or updated
Done with success
测试访问
- 初始管理员用户名密码: admin admin
--insecure为方便调用禁用证书验证
curl -u admin:admin --insecure https://192.168.160.129:9200
curl -u admin:admin --insecure https://192.168.160.129:9200/_cat/indices
## license查看
curl -u admin:admin --insecure https://192.168.160.129:9200/_searchguard/license
Kibana
安装search guard 插件
同样使用本地安装方式
./bin/kibana-plugin install file:///usr/local/kibana-6.4.2-linux-x86_64/search-guard-kibana-plugin-6.4.2-17.zip
- 等待安装初始化完成即可
添加配置
- 复制
root-ca.pem到指定目录下
编辑kibana.yml
xpack.security.enabled: false
elasticsearch.url: "https://es2:9200"
elasticsearch.username: "kibanaserver"
elasticsearch.password: "kibanaserver"
elasticsearch.ssl.certificateAuthorities: "/usr/local/kibana-6.4.2-linux-x86_64/config/root-ca.pem"
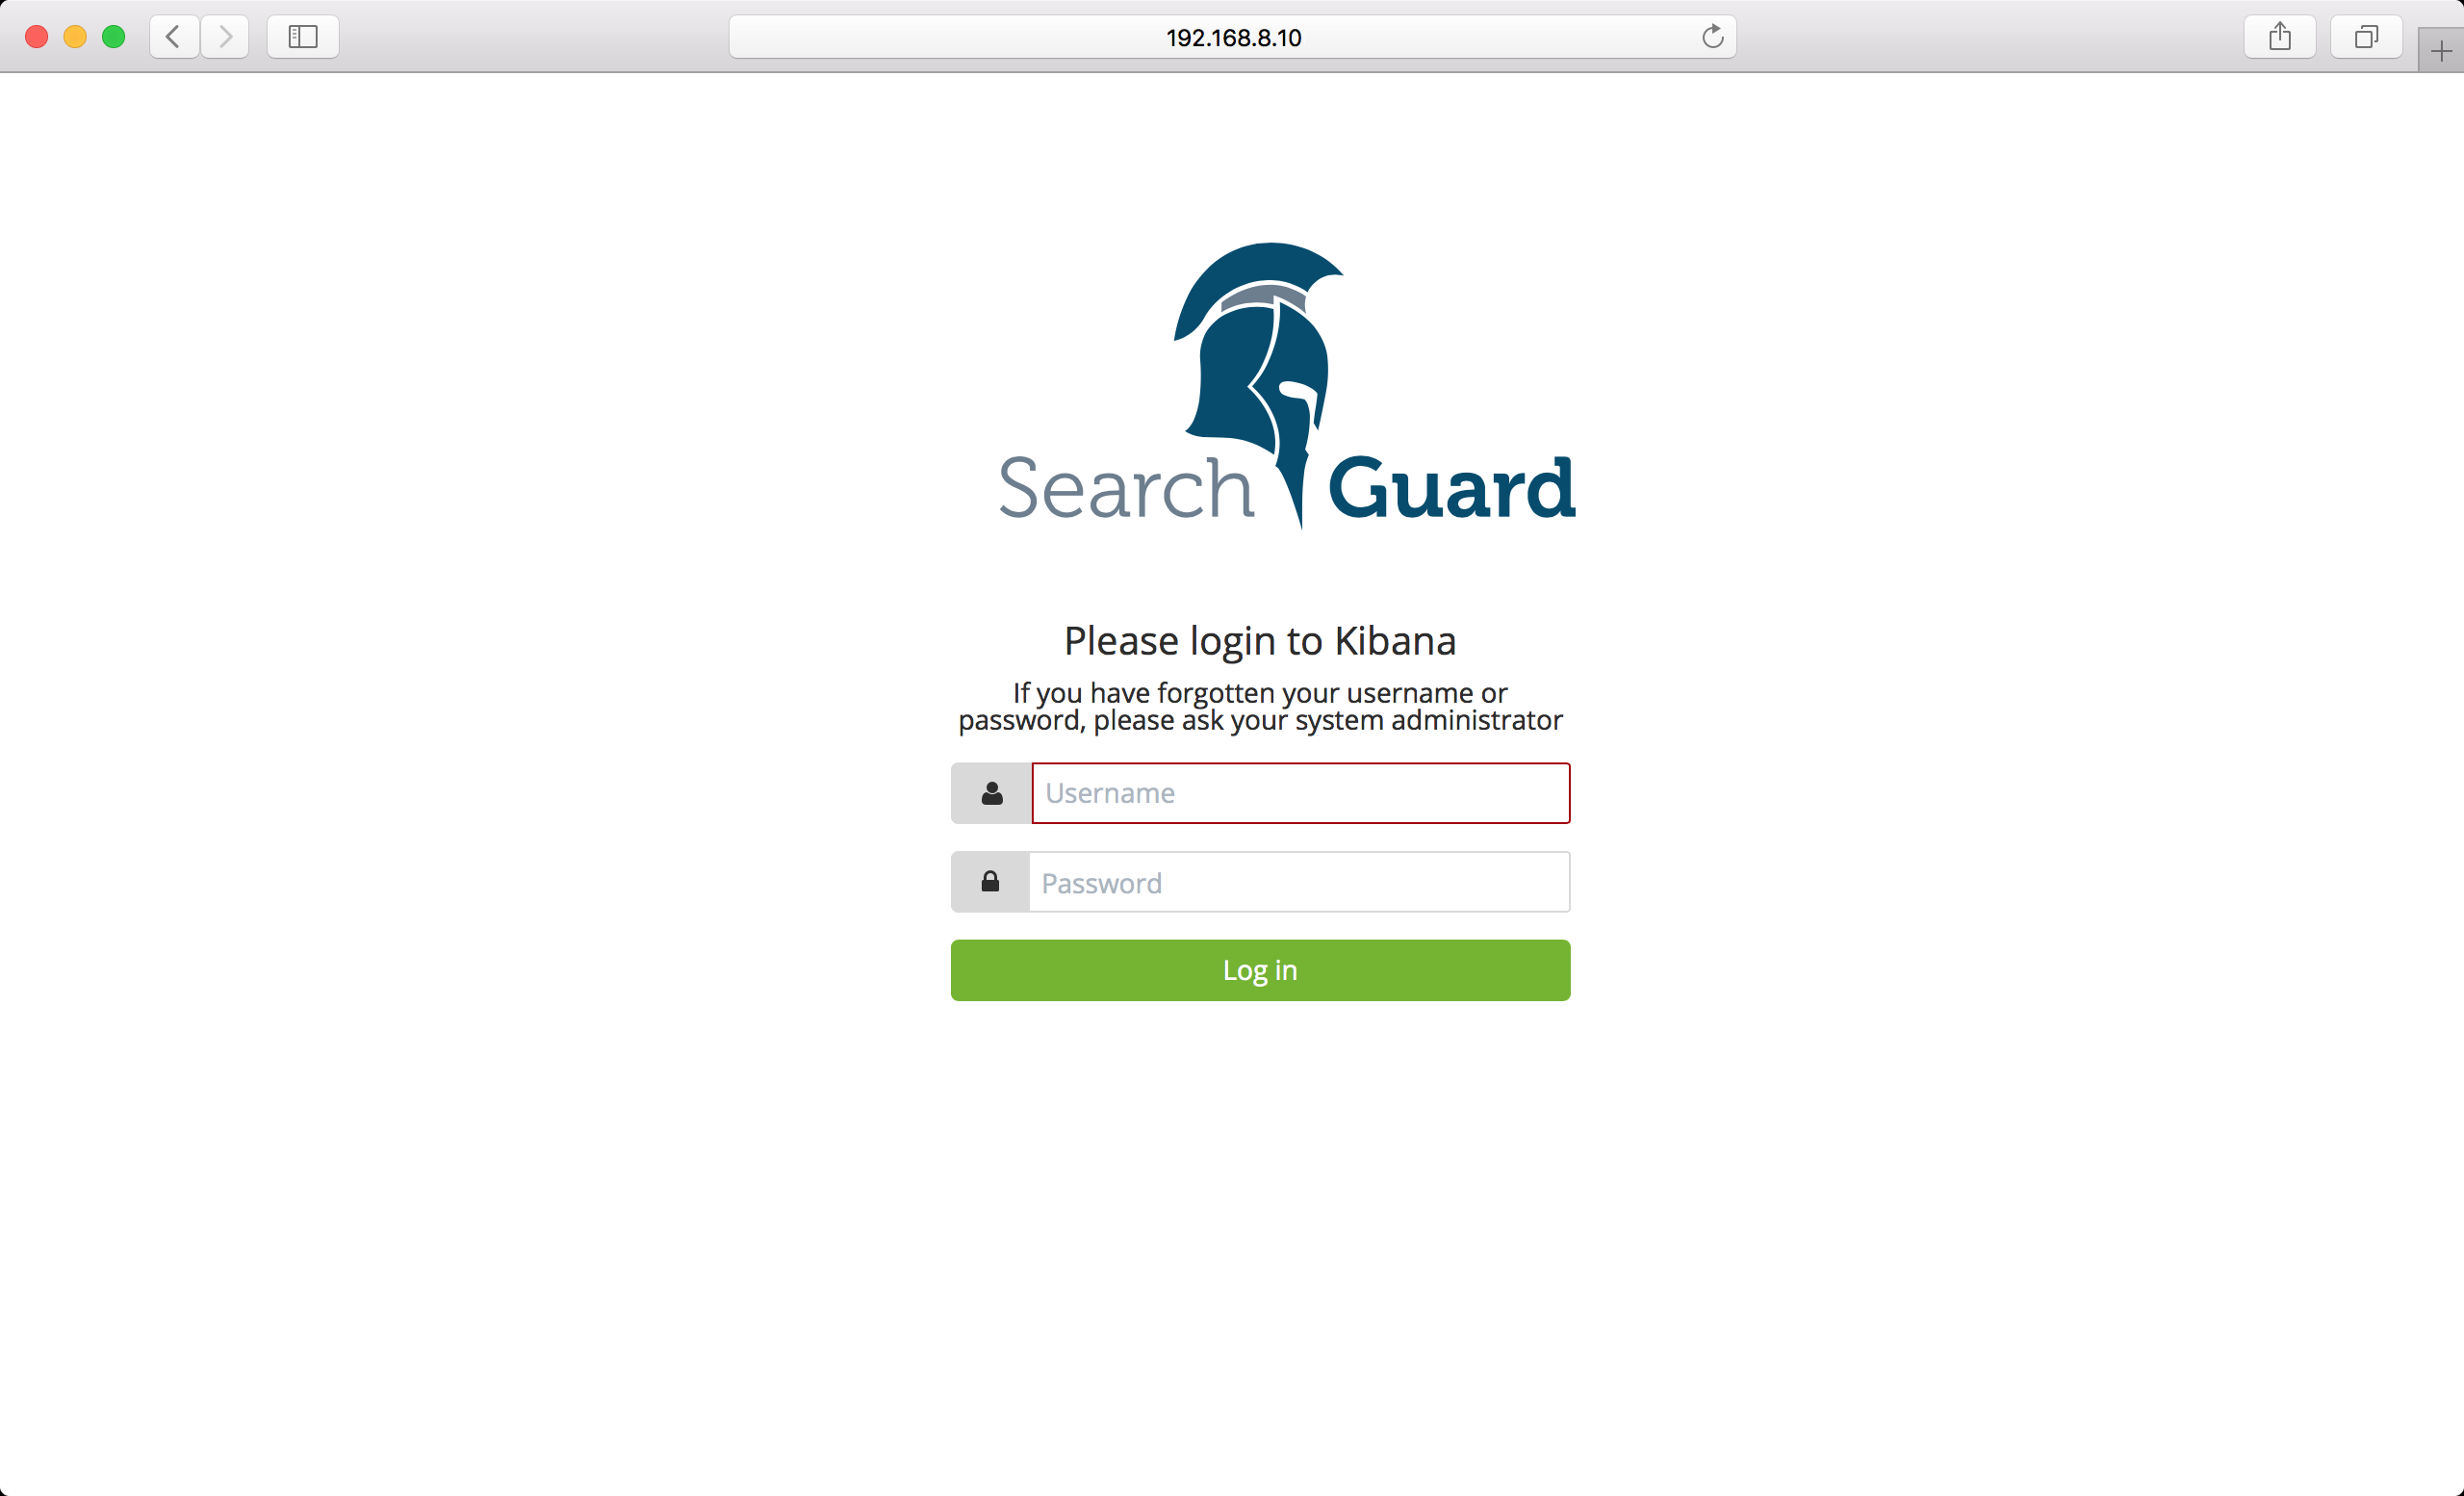
启动Kibana
- 访问页面

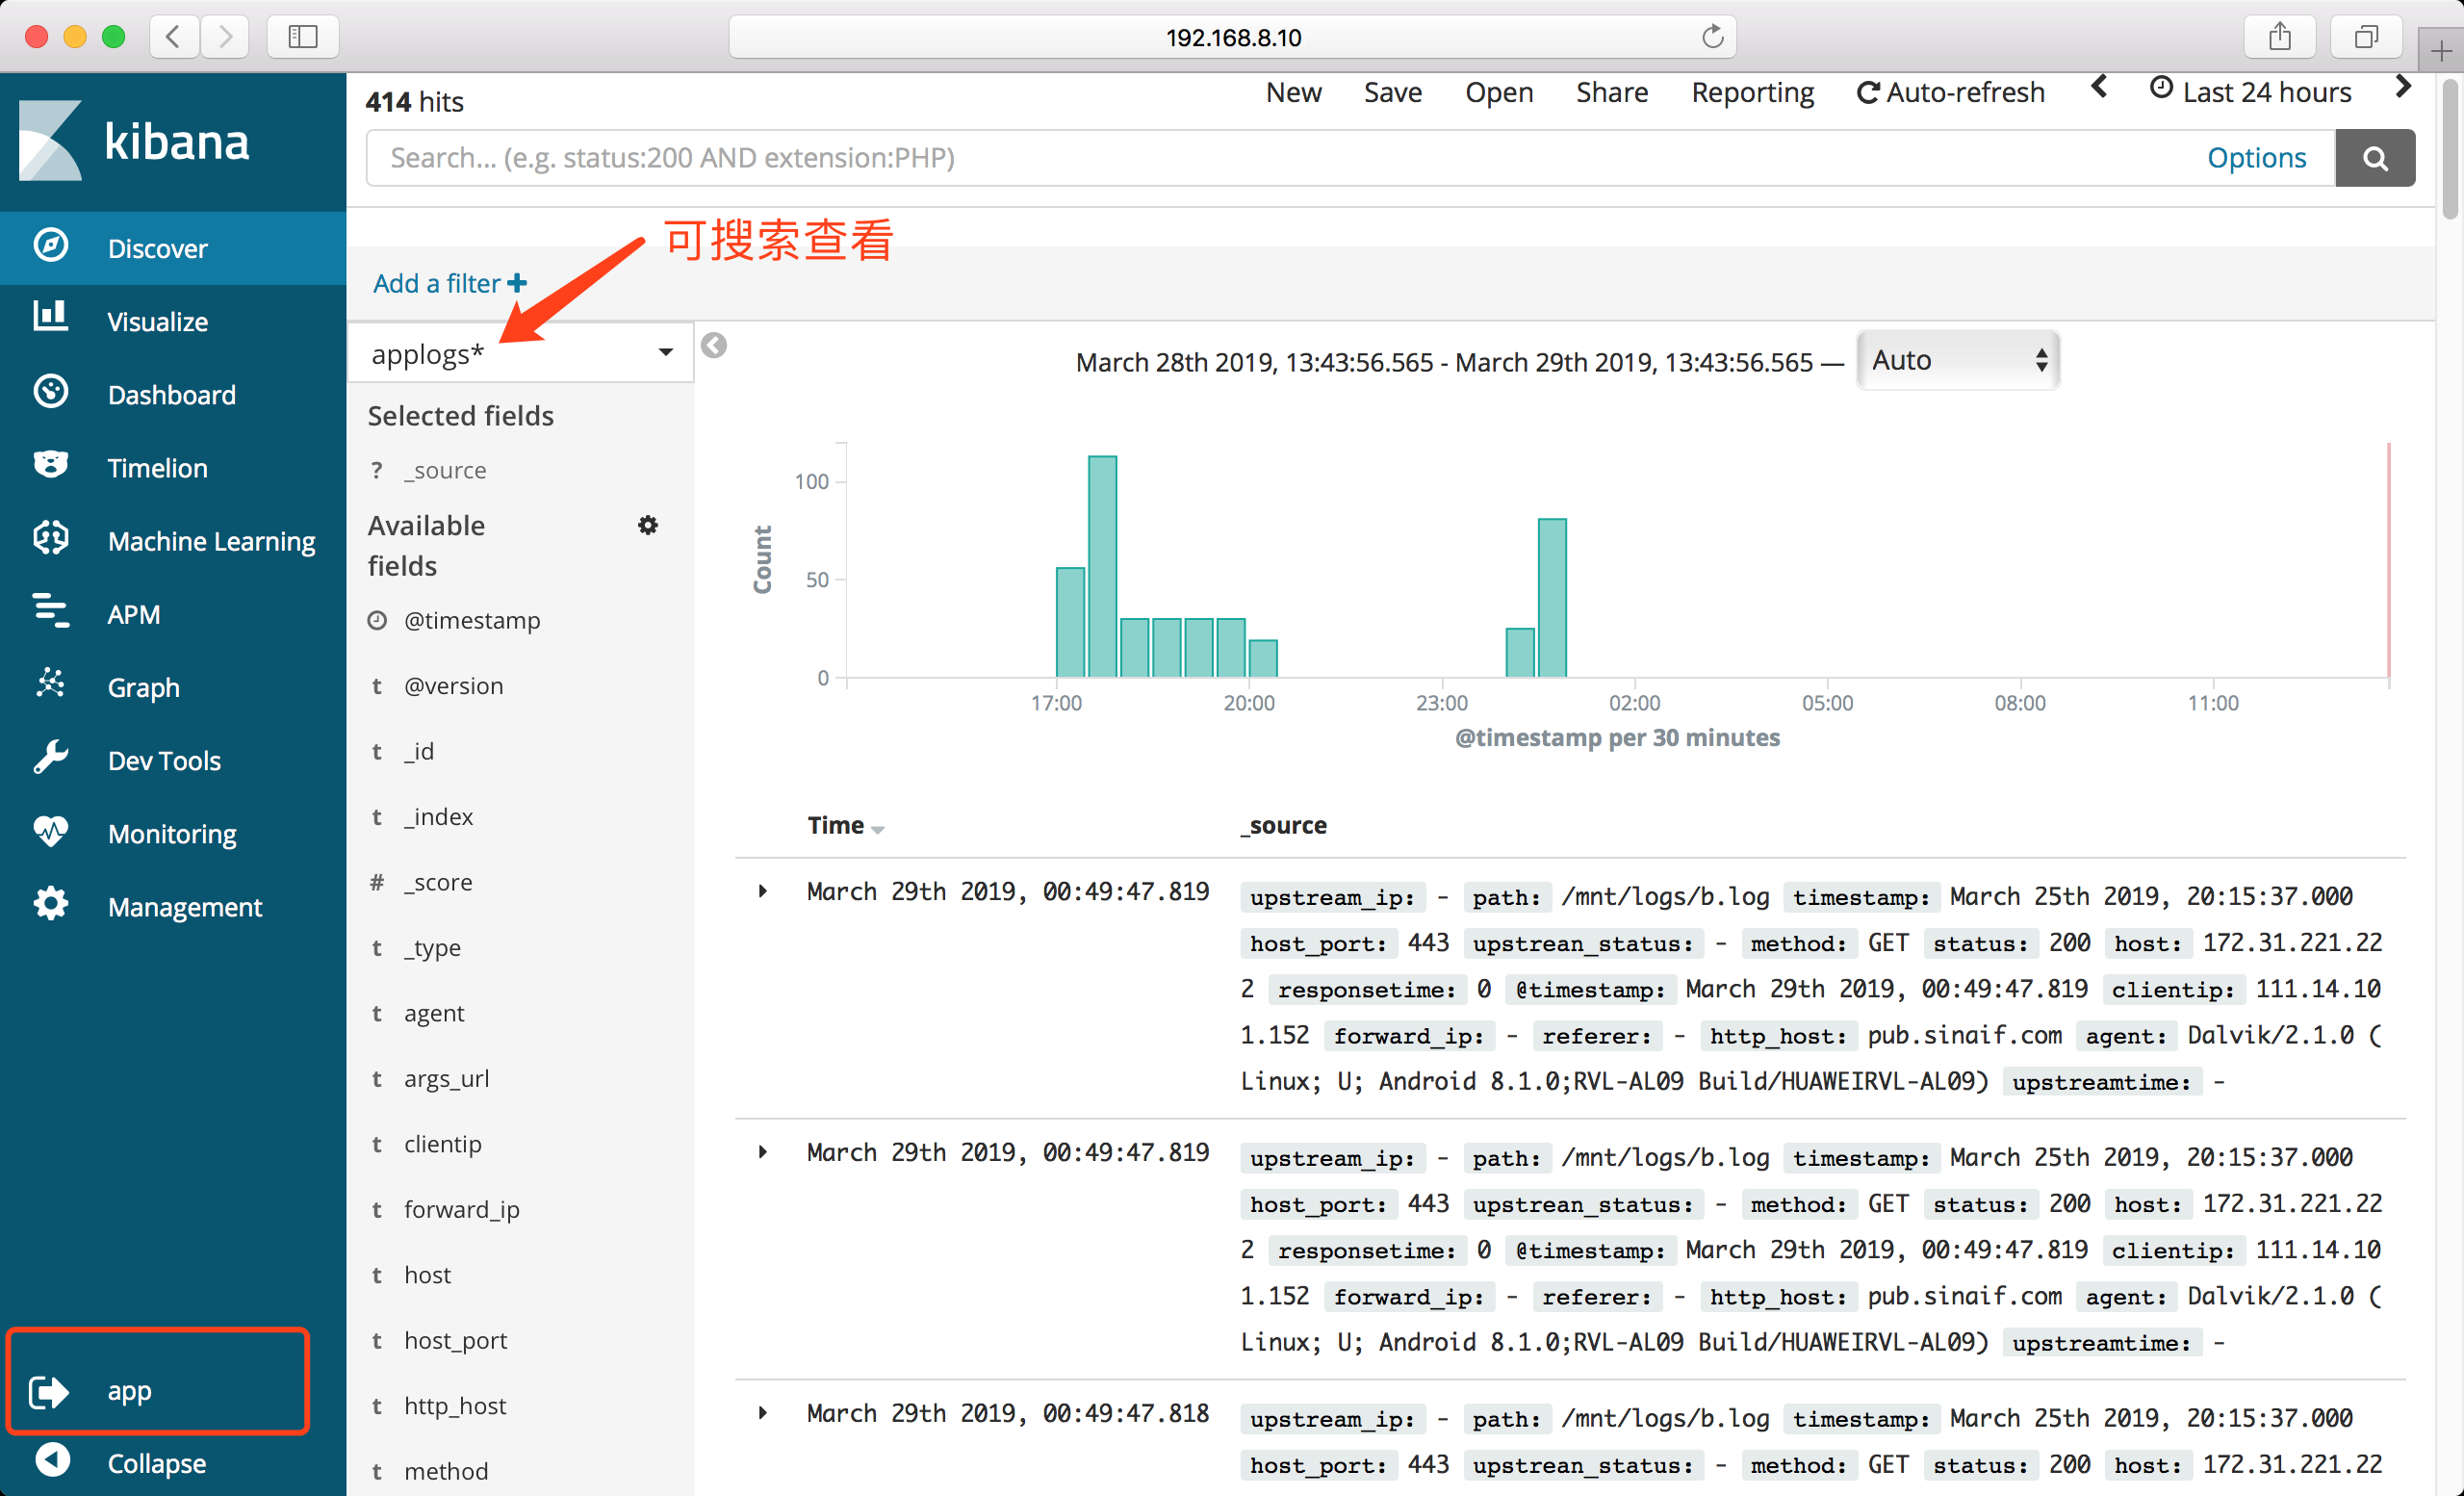
授权用户只读权限
下面示例配置
app用户只能搜索查看applogs*匹配的索引且权限为只读
只需要选择其中一个节点进行操作即可,否则会导致数据混乱无法使用;
- 配置文件目录:
[root@k2 sgconfig]# pwd
/usr/local/elasticsearch-6.4.2/plugins/search-guard-6/sgconfig
sg_internal_users.yml: 存储用户名密码,密码可以使用plugin/search-guard-6/tools/hash.sh生成,用户可以加入一个用户组,后面使用用户组与权限进行映射
sg_roles.yml:权限设置,定义什么类型的权限
sg_roles_mapping.yml: 映射角色关系,可以把权限映射给用户,也可以映射给用户组
sg_action_groups.yml: 定义一些用户动作的权限与es索引之间的关系
sg_config.yml:全局设置
配置用户名密码
[root@k2 tools]# bash hash.sh app
[Password:]  123456
$2y$12$Ua4xGZYuwCJRY4sqMfi.8.nb.dV94GPuXpaS7mHKrQmFIzwfZOGOW
添加用户
[root@k2 sgconfig]# pwd
/opt/es/plugins/search-guard-6/sgconfig
[root@k2 sgconfig]# vim sg_internal_users.yml
[root@k2 sgconfig]# tail -n 5 sg_internal_users.yml
app:
  hash: $2y$12$Ua4xGZYuwCJRY4sqMfi.8.nb.dV94GPuXpaS7mHKrQmFIzwfZOGOW
  #password: is 123456
  roles:
    - app
添加权限
- 编辑 sg_roles.yml
[root@k2 sgconfig]# tail -n 11 sg_roles.yml
sg_app_index:
  cluster:
    - CLUSTER_COMPOSITE_OPS_RO
  indices:
    '*applogs*':
      '*':
        - READ
        - indices:admin/mappings/fields/get*
    '?kibana':
      '*':
        - INDICES_ALL
配置中定义了权限,CLUSTER_COMPOSITE_OPS_RO 权限范围,来自于sg_action_groups.yml
映射用户组权限
[root@k2 sgconfig]# tail -n 3 sg_roles_mapping.yml
sg_app_index:
  backendroles:
    - app
加载配置
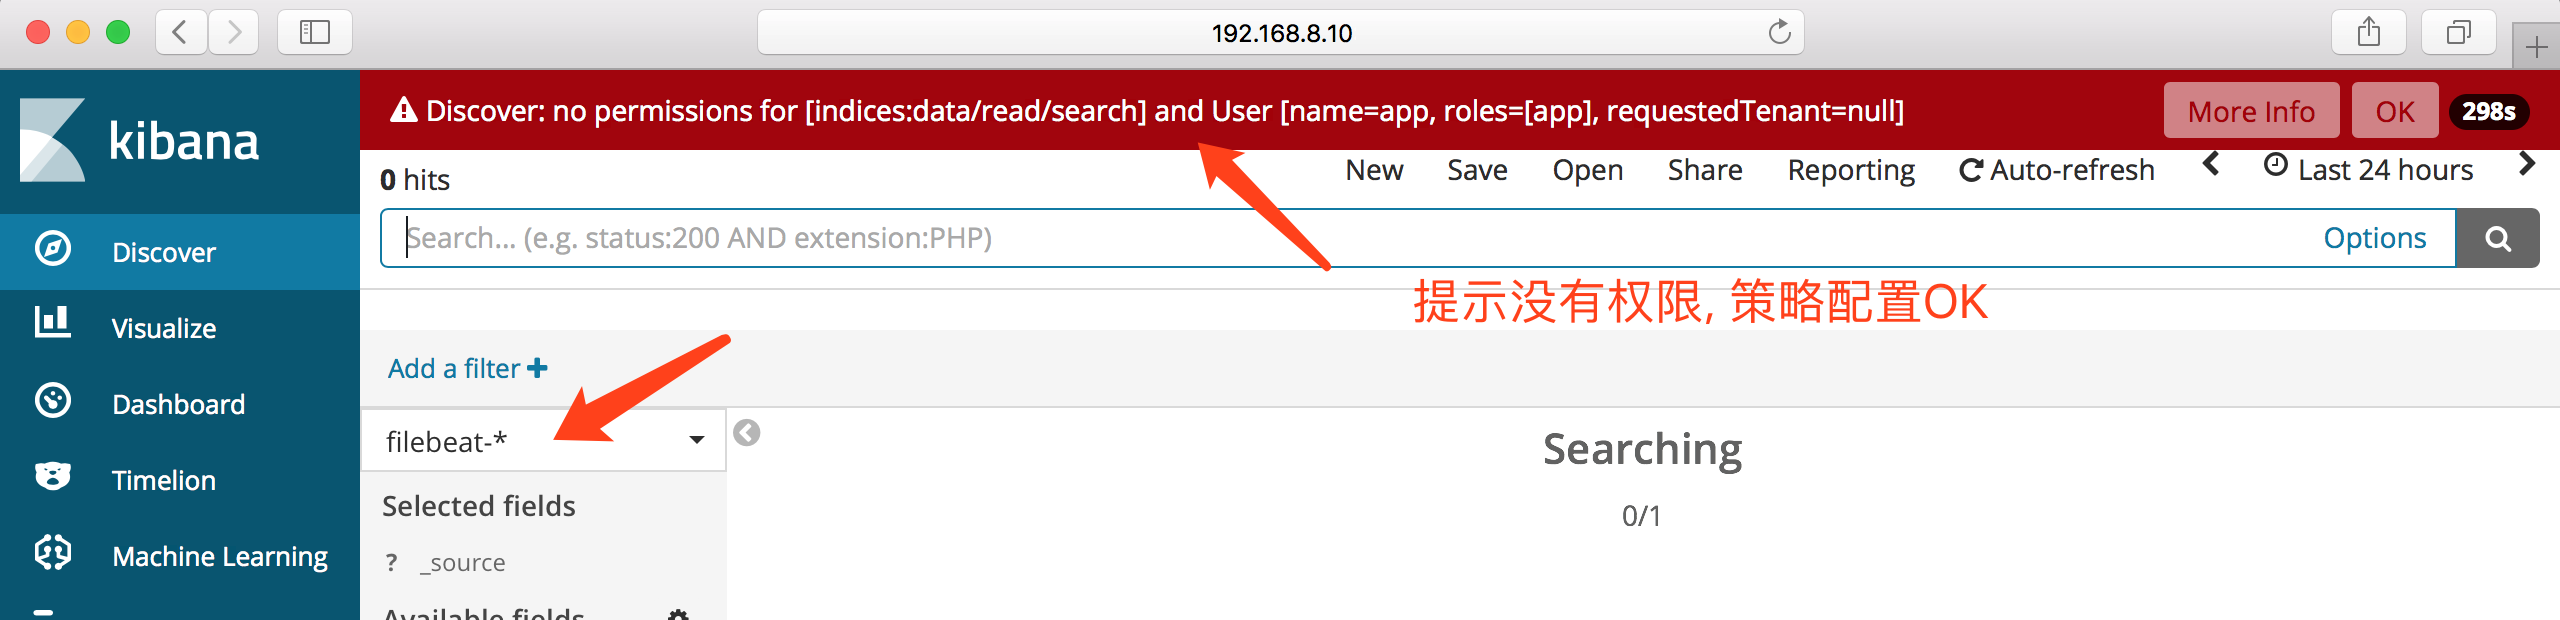
只需要选择其中一个节点进行操作即可,否则会导致数据混乱无法使用;
[es@k2 tools]$ pwd
/usr/local/elasticsearch-6.4.2/plugins/search-guard-6/tools
[es@k2 tools]$ ./sgadmin.sh -h 192.168.160.129 -p 9300 -ts truststore.jks -tspass 7ef7af8e734522cdba14 -ks CN=sgadmin-keystore.jks -kspass d1e21acbcb8fdd1362a8 -nhnv -icl -cd ../sgconfig/
..... 此处省略 .....
Done with success
登录验证
Logstash
input{
    file {
        path => [ "/mnt/logs/b.log" ]
        start_position => "beginning"
        sincedb_path => "/dev/null"
        ignore_older => "99999999999"
        codec => "json"
    }
}

output{
        elasticsearch {
        hosts => [ "https://es2:9200" ]
        index => "applogs_%{+YYYYMMdd}"
        user => admin
        password => admin
        ssl => true
        ssl_certificate_verification => true
        truststore => "/mnt/logstash-6.4.2/config/truststore.jks"
        truststore_password => "7ef7af8e734522cdba14"
        }
#       stdout {
#            codec => rubydebug
#       }
}
Filebeat
- 线上使用时应该使用模板否则发送到ES的数据全部归到
message - 对于JAVA等其他不在官方提供的模板内的应用输出的日志,应使用:
-
- filebeat > kafka > logstash > elasticsearch > kibana
-
- filebeat > logstash > elasticsearch > kibana
-
- 由logstash 来进行日志的拆分切割处理
文本格式
xpack.monitoring.enabled: true
filebeat.prospectors:
- input_type: log
  fields:
    namespace: app-test
  paths:
    - "/mnt/logs/a.log"
output.elasticsearch:
  hosts: ["https://192.168.160.129:9200"]
  username: "admin"
  password: "admin"
  ## 忽略证书验证
  ssl.verification_mode: none
logging.level: info
JOSN格式
xpack.monitoring.enabled: true
filebeat.prospectors:
- input_type: log
  json.keys_under_root: true
  json.add_error_key: true
  fields:
    APP: applog
  paths:
    - "/mnt/logs/c.log"
output.elasticsearch:
  hosts: ["https://192.168.160.129:9200"]
  username: "admin"
  password: "admin"
  ssl.verification_mode: none
logging.level: info
Cerebro
- 编辑 application.conf
- 增加修改下列配置
play.ws.ssl {
  trustManager = {
    stores = [
      { type = "PEM", path = "/usr/local/elasticsearch-6.4.2/config/root-ca.pem" }
    ]
  }
}

play.ws.ssl.loose.acceptAnyCertificate=true
hosts = [
  #{
  #  host = "http://localhost:9200"
  #  name = "Some Cluster"
  #},
  # Example of host with authentication
  {
    host = "https://192.168.160.129:9200"
    name = "Secured Cluster"
    auth = {
      username = "admin"
      password = "admin"
    }
  }
]
elasticsearch-sql
- 需要单独安装此处不在介绍
- github elasticsearch-sql
curl -sL \
-u admin:admin \
--insecure "https://192.168.160.129:9200/_sql" \
-H 'Content-Type: application/json' \
-d 'select count(status.keyword) from test-2019.03.25' | python -mjson.tool
X-Pack SQL
curl -u admin:admin \
--insecure https://192.168.160.129:9200/_xpack/sql?format=txt \
-H 'Content-Type: application/json' \
-d '{
  "query": "select host,status,path from testlogs_20190329 limit 10"
}'
     host      |    status     |     path
---------------+---------------+---------------
192.168.160.129 |200            |/mnt/logs/b.log
192.168.160.129 |200            |/mnt/logs/b.log
192.168.160.129 |200            |/mnt/logs/b.log
192.168.160.129 |200            |/mnt/logs/b.log
192.168.160.129 |200            |/mnt/logs/b.log
192.168.160.129 |200            |/mnt/logs/b.log
192.168.160.129 |200            |/mnt/logs/b.log
192.168.160.129 |200            |/mnt/logs/b.log
192.168.160.129 |200            |/mnt/logs/b.log
192.168.160.129 |200            |/mnt/logs/b.log
- _xpack/sql?format=txt
- _xpack/sql?format=json
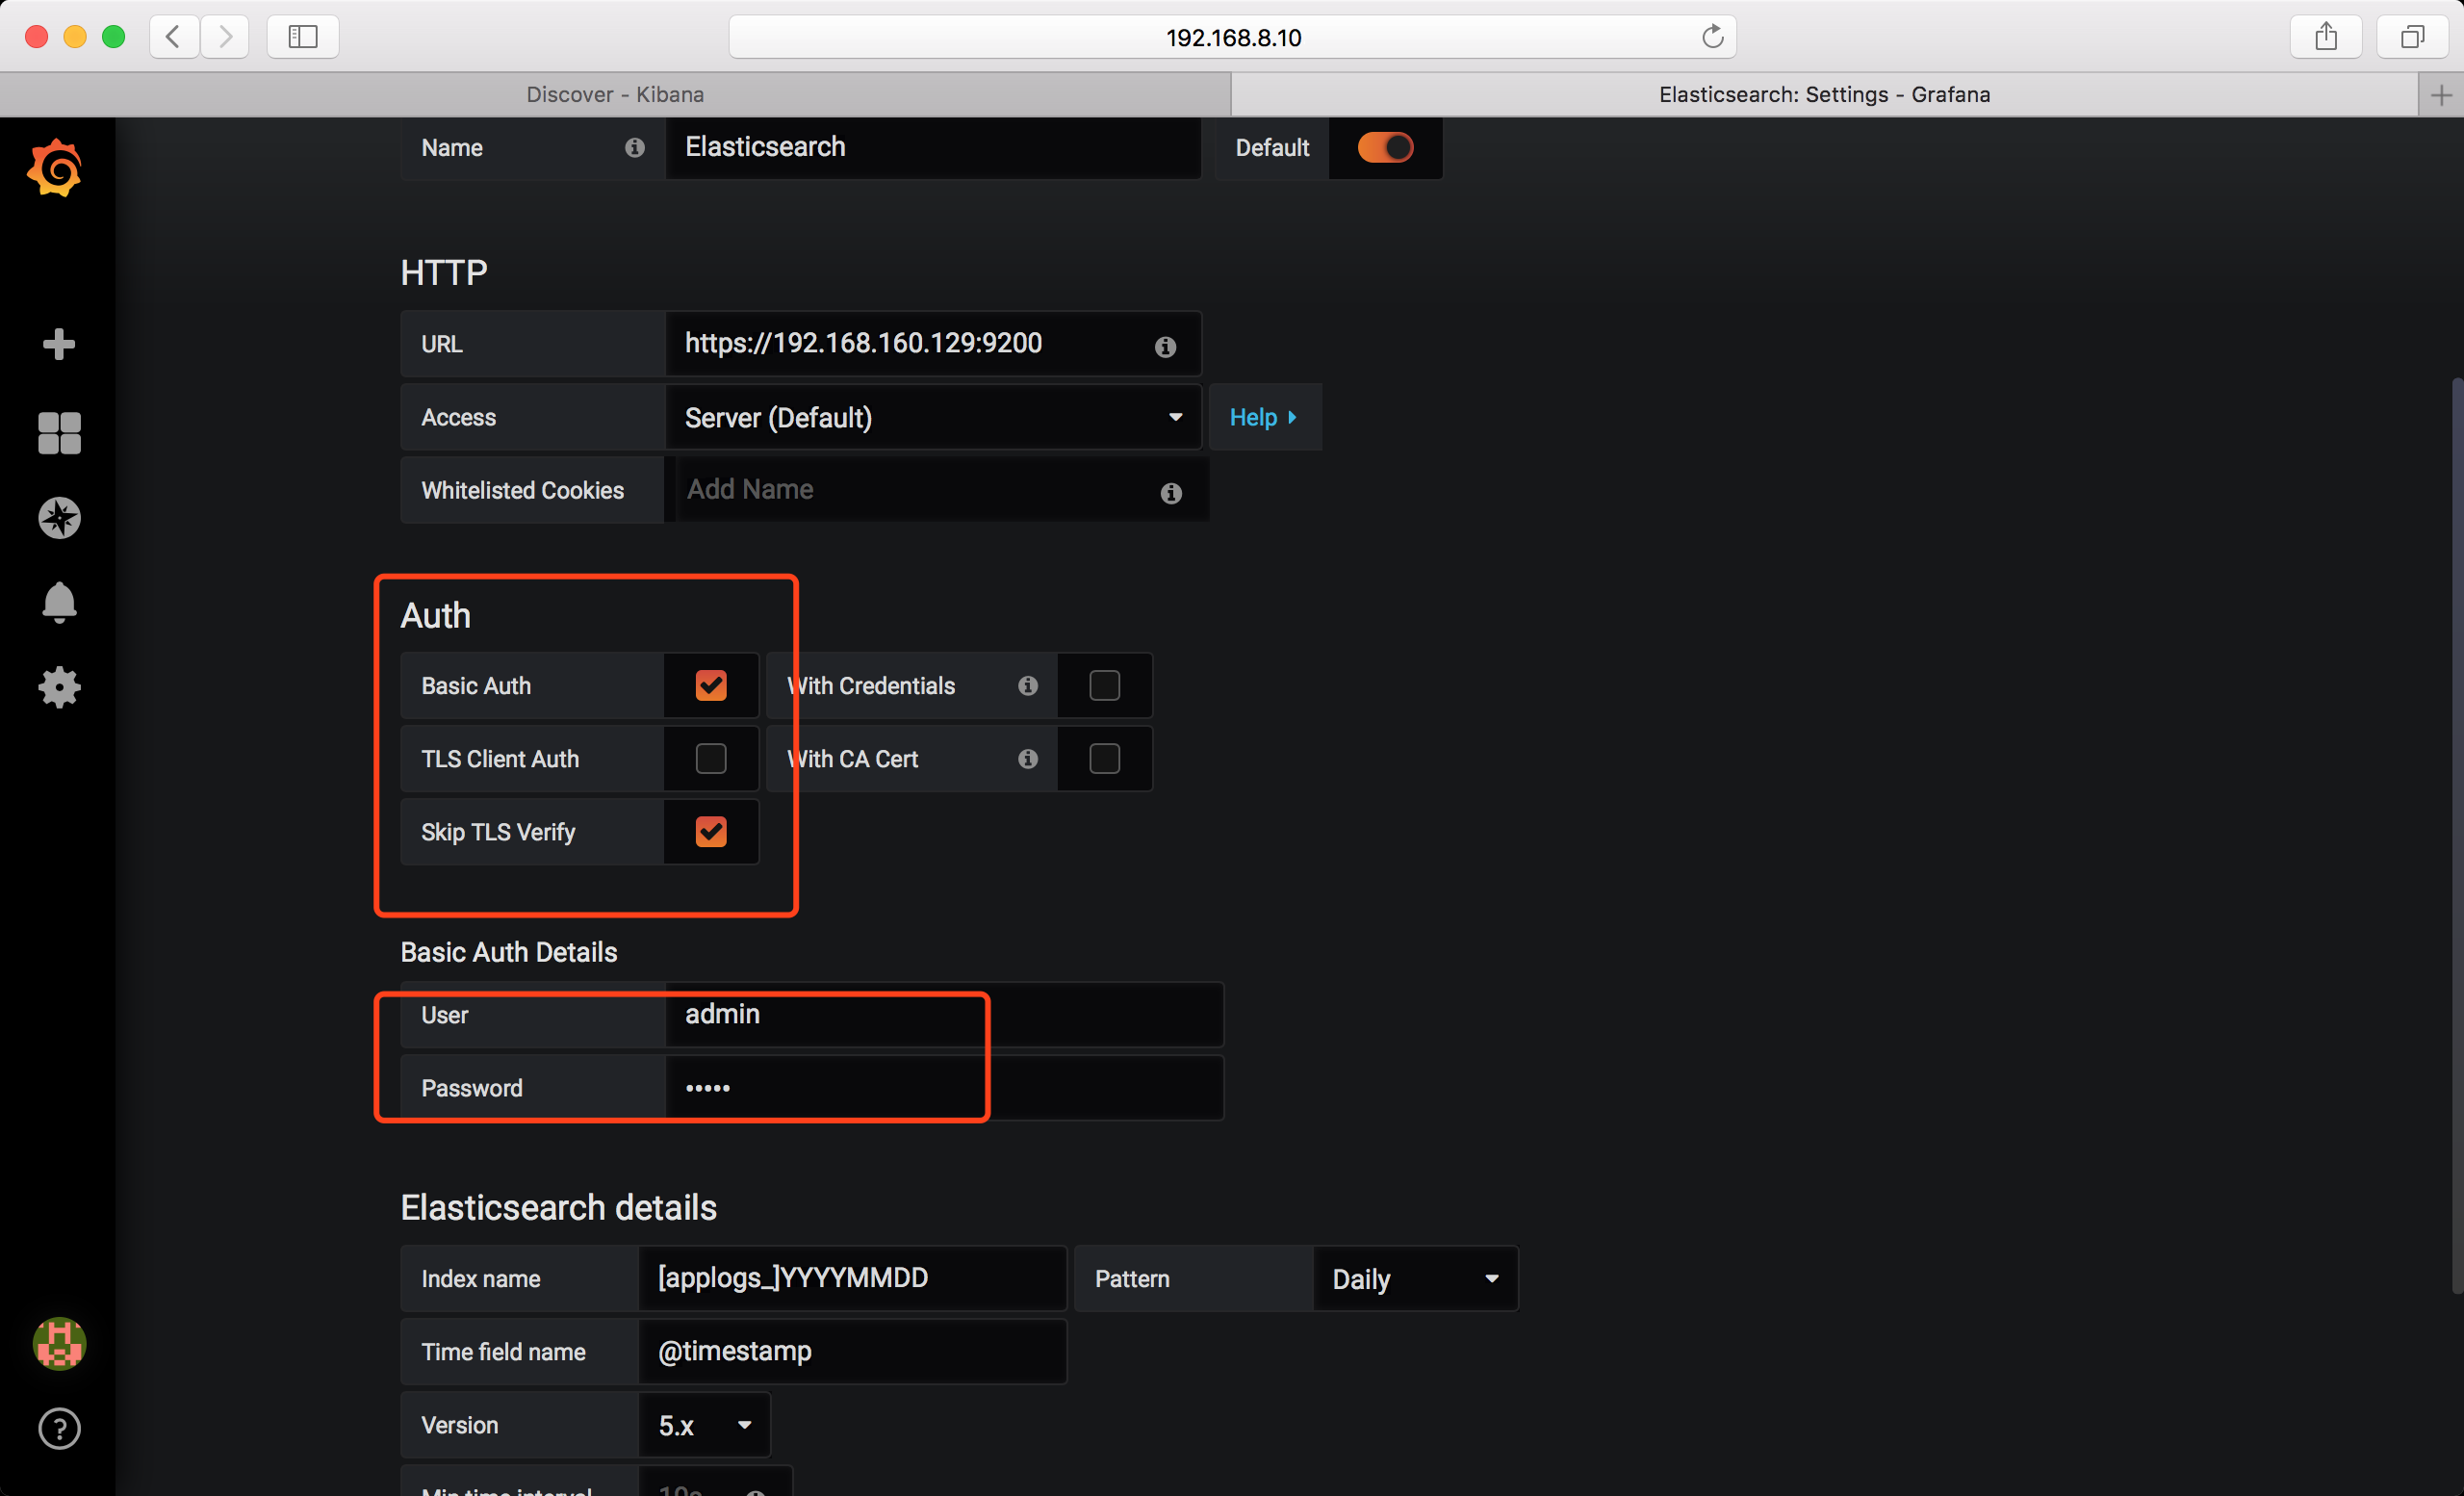
Grafana
注意事项
- 注意证书的权限以及属主和属组
- 关于证书通读
README.md根据提示逐一将证书/key 文件复制到指定目录下 - 关于秘钥的密码等,查看
README.md在最后有给出,且注意保存 - es和kibana 都需要禁用x-pack 认证
xpack.security.enabled: false - 切记如果证书生成时指定的是域名,在配置logstash/filebeat 时指定主机名切勿使用IP,要记得在各个节点绑定主机名!!!!
- elasticsearch.yml
discovery.zen.ping.unicast.hosts最好指定ip地址,否则会报错!!!